> ## Documentation Index
> Fetch the complete documentation index at: https://docs.convocore.app/llms.txt
> Use this file to discover all available pages before exploring further.
# Custom Domain
> Description of your new file.
# Set Up a Custom Domain
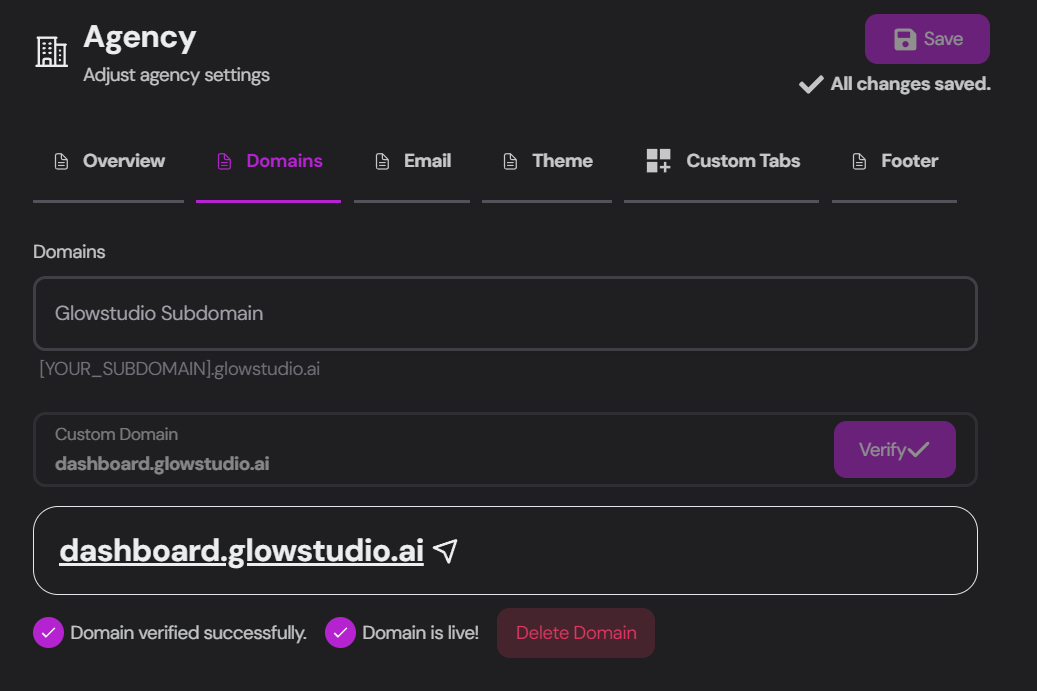 Navigate to the Domains tab in your agency settings to connect a domain that will be used for all links and connections associated with your agency. This includes your dashboard link, prototype link, and iframe link.
### Domain Setup Options
You have two options for setting up your domain:
Connect to a Convocore domain (e.g., youragency.convocore.ai)
Use a custom domain that you've set up yourself
## Using a Convocore Subdomain
Type your desired subdomain name in the provided field.
Convocore will automatically create a new subdomain for you.
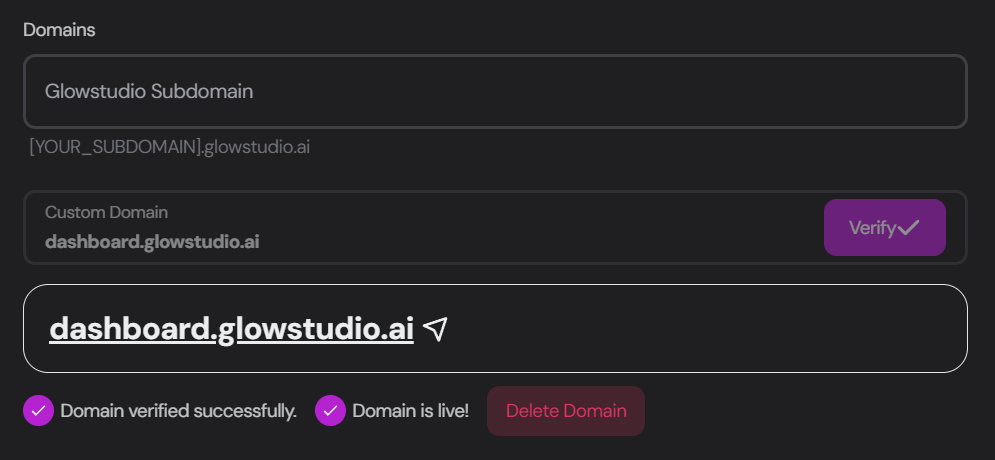
Wait for the `Domain verified successfully` and `Domain is live` messages to confirm success.
If everything is done correctly, your domain should be live. If you run into trouble, contact us at [support@convocore.ai](mailto:support@convocore.ai).
DNS settings might take some time to propagate. Be patient if the domain doesn't become live immediately.
## Using Your Own Custom Domain
For a truly personalized brand experience, use a subdomain of your existing domain **(e.g., dashboard.youragency.com, chat.youragency.com, or agentportal.youragency.com)**.
Input your chosen domain in the designated field.
The DNS checking tool will automatically verify if your domain has the necessary records.
Add the following records to your domain provider:
```plaintext theme={null}
Type: CNAME
Name: [YOUR_SUBDOMAIN]
Value: cname.vercel-dns.com.
TTL: Leave as is
```
```plaintext theme={null}
Type: TXT
Name: _vercel
Value: vc-domain-verify=[YOUR-DOMAIN],(YOUR-UNIQUE-IDENTIFIER)
TTL: Leave as is
```
Wait for the DNS checker to update and display checkmarks for `Domain verified successfully` and `Domain is live`.
If everything is done correctly, your domain should be live. If you run into trouble, contact us at [support@convocore.ai](mailto:support@convocore.ai).
Navigate to the Domains tab in your agency settings to connect a domain that will be used for all links and connections associated with your agency. This includes your dashboard link, prototype link, and iframe link.
### Domain Setup Options
You have two options for setting up your domain:
Connect to a Convocore domain (e.g., youragency.convocore.ai)
Use a custom domain that you've set up yourself
## Using a Convocore Subdomain
Type your desired subdomain name in the provided field.
Convocore will automatically create a new subdomain for you.
Wait for the `Domain verified successfully` and `Domain is live` messages to confirm success.
If everything is done correctly, your domain should be live. If you run into trouble, contact us at [support@convocore.ai](mailto:support@convocore.ai).
DNS settings might take some time to propagate. Be patient if the domain doesn't become live immediately.
## Using Your Own Custom Domain
For a truly personalized brand experience, use a subdomain of your existing domain **(e.g., dashboard.youragency.com, chat.youragency.com, or agentportal.youragency.com)**.
Input your chosen domain in the designated field.
The DNS checking tool will automatically verify if your domain has the necessary records.
Add the following records to your domain provider:
```plaintext theme={null}
Type: CNAME
Name: [YOUR_SUBDOMAIN]
Value: cname.vercel-dns.com.
TTL: Leave as is
```
```plaintext theme={null}
Type: TXT
Name: _vercel
Value: vc-domain-verify=[YOUR-DOMAIN],(YOUR-UNIQUE-IDENTIFIER)
TTL: Leave as is
```
Wait for the DNS checker to update and display checkmarks for `Domain verified successfully` and `Domain is live`.
If everything is done correctly, your domain should be live. If you run into trouble, contact us at [support@convocore.ai](mailto:support@convocore.ai).
 We use [Godaddy](https://godaddy.com) for domain management, but any reputable domain provider will work.
### After Domain Setup
Once your domain is successfully set up:
Adding your domain unlocks the Clients tab so you can create organizations and manage their agents.
For Calendly (and other BYO OAuth apps), register Redirect URI on **this custom domain**
(e.g. `https://app.youragency.com/api/calendly/callback`) — not the platform host. See
[Whitelabeled Integrations](/whitelabeling/integrations) and
[Calendly setup](/integration/calendly).
We use [Godaddy](https://godaddy.com) for domain management, but any reputable domain provider will work.
### After Domain Setup
Once your domain is successfully set up:
Adding your domain unlocks the Clients tab so you can create organizations and manage their agents.
For Calendly (and other BYO OAuth apps), register Redirect URI on **this custom domain**
(e.g. `https://app.youragency.com/api/calendly/callback`) — not the platform host. See
[Whitelabeled Integrations](/whitelabeling/integrations) and
[Calendly setup](/integration/calendly).